 Free Online Image Optimizer
Getting photographs through a mail server
A phone photograph is three or four megabytes, so half a dozen of them will not go. The bounce, when it comes, is usually hours later and phrased unhelpfully. This walks through shrinking a set to something that will send, and explains the number you are actually up against — which is not the number the mail provider advertises.
Make photos small enough to email →
The limit is smaller than it looks
Most mail providers publish a maximum attachment size somewhere between 10 and 25 MB. The number worth planning against is lower than whichever one applies to you, for two reasons.
First, attachments are not sent as raw bytes. They are encoded into plain text for transport, and that encoding costs a third: three bytes of image become four characters on the wire. A 20 MB attachment arrives at the server as about 27 MB of message, and it is the message that gets measured.
Second, the limit that matters is the smallest one on the path — yours, your recipient's, and any mail gateway in between, none of which you can see. A set that comes to 5 MB gets through everything. A set that comes to 24 MB is a coin toss.
The tool is at Make photos small enough to email.
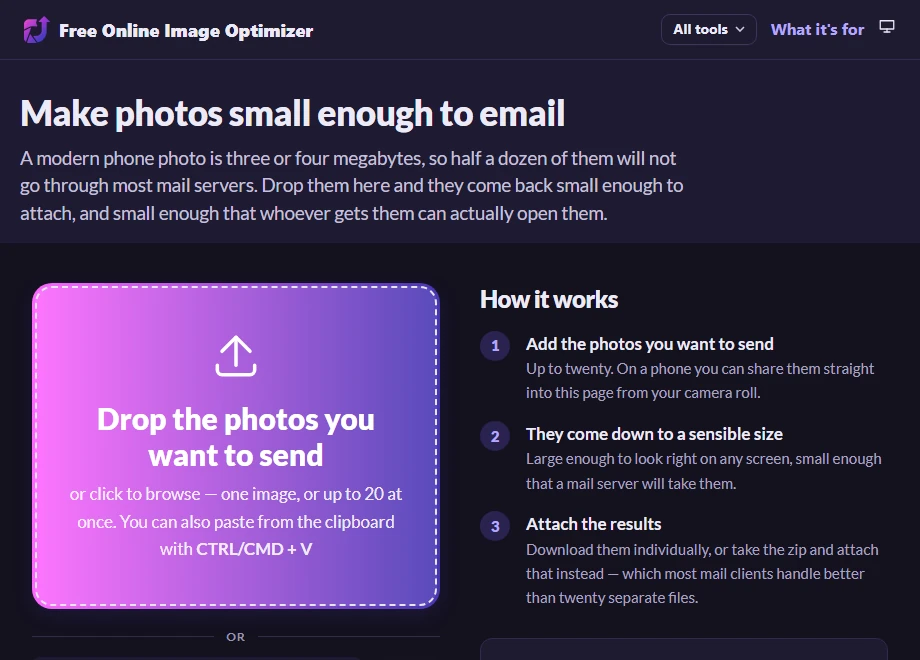
Add what you want to send
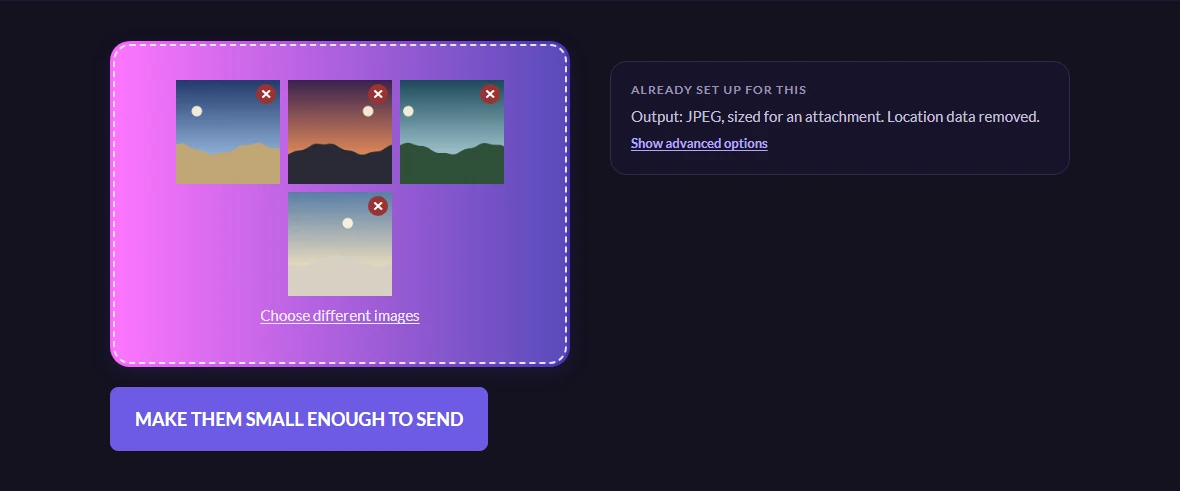
Up to twenty at a time. On a phone you can share them into this page straight from the camera roll rather than picking them out of a file browser.
The result is sized to look right on any screen a person will read mail on, which is a lower bar than printing: a photograph 1280 pixels wide is indistinguishable from the original in a mail client, and a small fraction of the weight.
Attach the results, or attach the zip
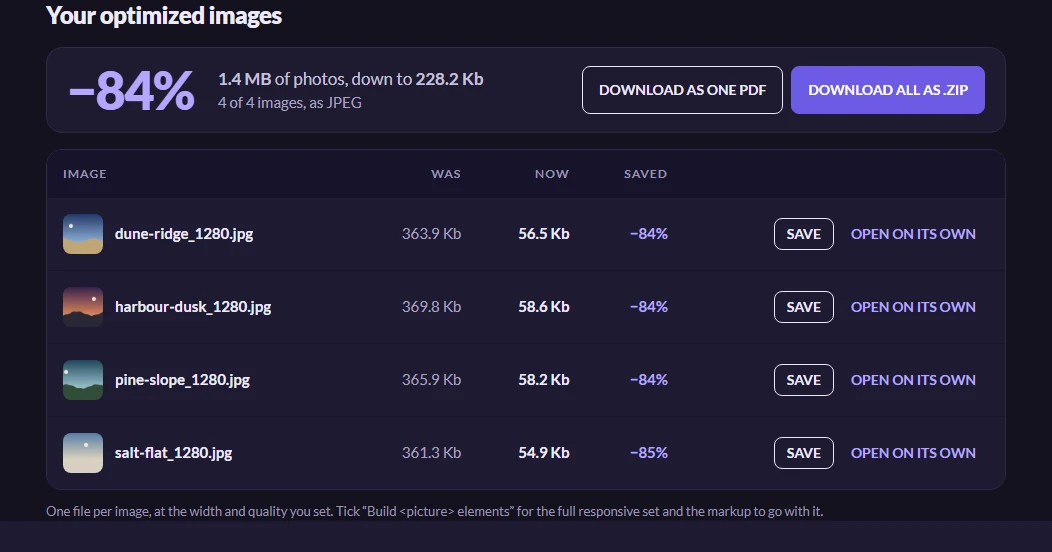
The table shows what each photograph weighed and what it weighs now. Add the new column up and compare it against your budget before you start composing.
Attaching the zip rather than the individual files is usually the better move: one attachment travels more predictably than eight, some mail clients recompress images they recognise and leave a zip alone, and the recipient gets a folder rather than a scattering of files in their downloads.
Worth knowing
The recipient will not be able to tell
Not on a screen. A photograph reduced for email is still larger than the space a mail client gives it, so it is displayed shrunk either way. The difference shows up if somebody zooms all the way in, or prints it at A4, or crops hard into a corner — which is worth knowing if the photographs are going to a printer rather than to a person.
The location goes too
This page removes the metadata as it compresses, so the coordinates of where each photograph was taken do not travel with it. That is the sensible default for something being emailed to somebody outside your household, and if it is the only thing you want done there is a page for that on its own.
If they are photographs of paper
Use the page for photographed paperwork instead, which holds a higher quality so small print stays readable. This page is tuned for photographs of things, where a little softness is invisible; on a page of text it is the difference between legible and not.