 Free Online Image Optimizer
WebP to PNG, for the picture with no background
This is the conversion to choose when the picture has no background: a logo, an icon, a cut-out. PNG is the format other software expects for those, and unlike JPG it can actually store the transparency. The file will get bigger, and that is the point rather than a problem.
This is the transparent one
Of the two ways out of WebP, this is the one that keeps an empty background empty. The JPG conversion cannot: JPEG has no concept of transparency, and the empty area comes back filled in black.
So the decision is made by the picture, not by preference. Transparent background, or edges that fade out rather than stopping: PNG. A rectangular photograph with no transparency: JPG is smaller and just as good.
The tool is at Convert WebP to PNG.
Give it the logo
Logos, icons, exported artwork — anything with a background you want to stay invisible. Up to twenty at a time.
Soft edges survive as well as hard ones. Transparency is not on-or-off: every pixel carries its own degree of it, so a drop shadow that fades to nothing, or an anti-aliased curve, comes through as a fade rather than a jagged step. That is worth knowing because it is the thing that goes wrong in cheaper conversions.
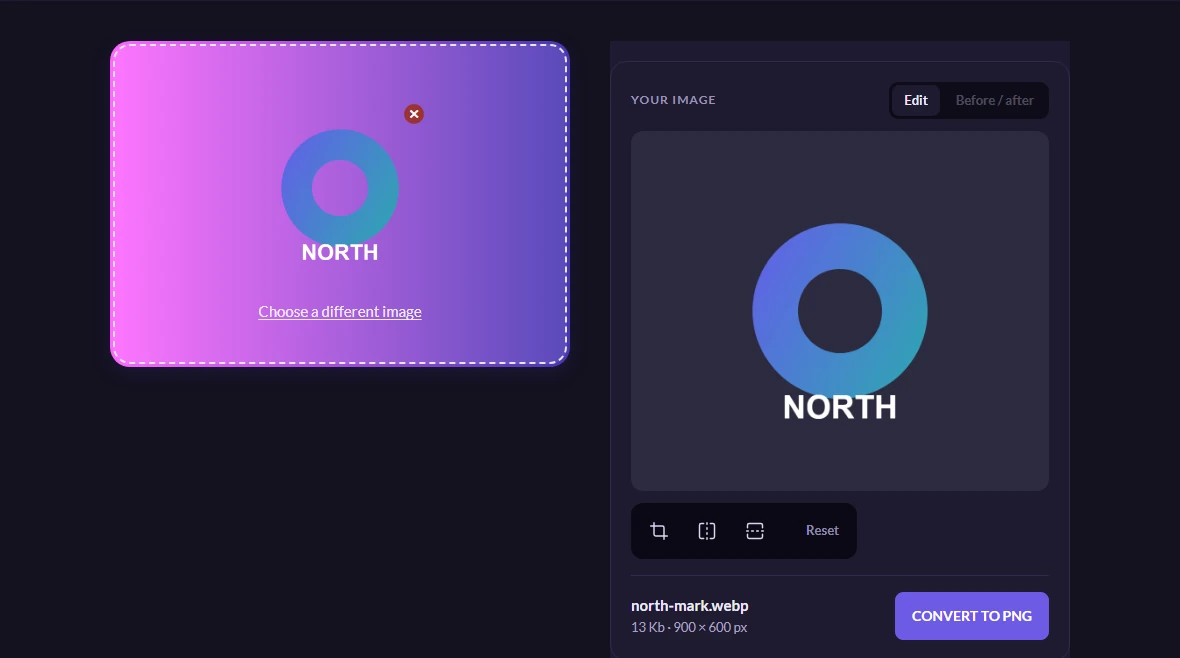
Bigger, and that is the right answer
The PNG that comes back is usually larger than the WebP that went in, and there is no saving figure on the page afterwards because there is no saving to report — this page is the one conversion here that costs you bytes on purpose. PNG is lossless: it stores every pixel exactly, and WebP does not, so the two are not really comparable. You are buying exactness and compatibility, and the size is the price.
The transparency comes through, and that was checked rather than trusted: a WebP with a hole punched through the middle of it went in, the PNG that came out was decoded, and the pixel at the centre of the hole reads as nothing at all — no colour, no opacity. Soft edges behave the same way, because alpha is a value per pixel rather than a yes or no.
Worth knowing
PNG or JPG, decided in one question
Does any part of the picture need to be see-through? If yes, PNG, and the size is the price. If no, JPG will be a fraction of the size at the same apparent quality, and nothing will notice the difference.
The one trap is a picture that looks like it has a white background but actually has a transparent one. Drag it onto something dark in your file manager's preview, or open it in a browser and scroll it over dark text — transparency shows what is behind it, a white background does not.
If you want both formats
The advanced options will produce more than one format from the same picture in a single pass, and the responsive walkthrough covers generating a whole set plus the markup that serves the right one to each visitor.
For a web page, keep the WebP
If the destination is your own website, you already have the better file. WebP with transparency is read by every browser in use and is a fraction of the size of the PNG. Convert to PNG when something other than a browser needs it.